Video Production for Clients - Preparation, Shot-Listing, and Organizing
Filming a video for a client can be exciting and nerve-wracking. Whether it’s your first time or your twentieth time filming for a client, it’s important that you feel comfortable and ready to highlight and showcase everything that their video needs to. This involves having the proper equipment, a list of shots, and a means of producing everything with ease. Let’s dive into the many things to keep in consideration when it comes to producing videos from start to finish.
Filming Day Preparation
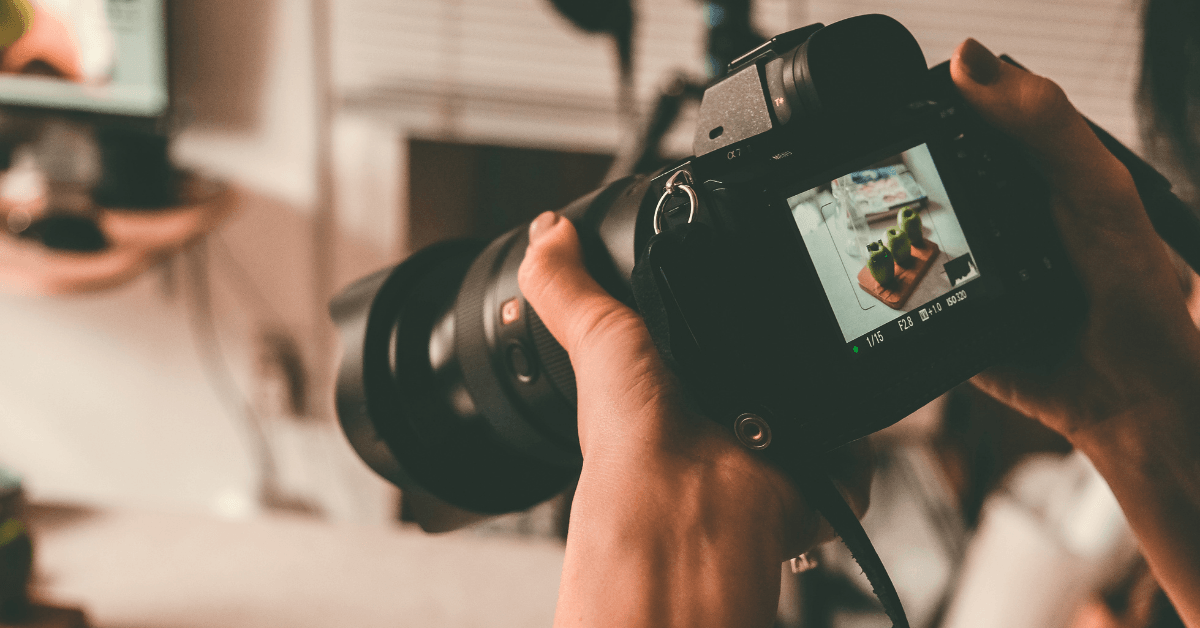
There are many pieces of equipment that can be used and shouldn’t be forgotten for a video shoot. This includes lenses, tripods, camera stabilizers, memory cards, microphones, cameras, and lighting equipment. It’s important to know which of these and the quantity you will be needing for shooting day. Make sure not to overload yourself with what you can bring to a shoot, and only bring what you know you’ll be using based on the type of video you are asked to create.
As a videographer and the brains behind all of this equipment, it’s important to make sure that all of your equipment is functioning, charged up, and usable for the video-shoot. This includes any extra camera batteries, wireless microphones, lighting equipment and having empty memory cards. It would be inconvenient and unprofessional of you to show up to the video shoot with equipment that is low on battery or a substitute to what you would normally use.
Shot-Listing
Now that all of your equipment is in order and equipped for shooting, it’s time to plan some shots. Shot-listing, or storyboarding, is a series of drawings or images showing the planned order of images for a production and can be done in two ways. The first way is by asking your client what type of video you will be making for them. This could be a video about a product, an exercise routine, a grand opening, or something personal & special. Once your client provides a theme, ask them what details and events they would like to highlight in the video. They will most likely have an idea of how they want their video to be executed and can easily provide you with a shot list for the video. From there, you can plan your shots accordingly in the order that they see best fit.
The second way
is through your own creative ideas. Depending on the type of equipment you have, you may be able to pull off some cool and unique shots. If you have a
gimbal stabilizer
for instance, you have a range of possible shots from panning, to 360 rolling, to some low-to-the-ground shots that could enhance the outcome of the video. If you know that you’ll be filming some stand alone shots of someone talking or interacting with something, then a tripod will be your key to achieving that shot versus the gimbal or handheld. Shot-listing also applies to different types of cameras, lenses, and lightning as each one can significantly improve the quality and outcome of the video.
An important thing to note when it comes to shot-listing is the distance to and from your shooting location. Depending on how far your shooting location is, you may not have the luxury of going back to film something again if your shot didn’t turn out how you planned. Requesting forgotten footage or sound after the fact may decrease the quality of the video due to the usage of a different microphone or camera than the one you used for the video shoot. To avoid this from happening, it is recommended that you film as much footage as possible, also known as
b-roll. Acquiring the perfect shot may take a couple tries and may need to be done from many different angles, so it’s important that you take the time to perform this before you head home and begin editing.
Organizing Footage
Piggybacking off of shot-listing, this part should be easy. Now that you have an understanding of what the client wants in the video and you have the footage from the video shoot, it’s time to put together the final product! This is called post-production and can be quite tedious or fun, depending on how you look at it. Sifting through all the video footage you now have, you will take note of how many recordings and attempts you’ve made to get to the perfect shot. For most of these clips, the perfect shot will be towards the middle or the end of the clip as you’ve probably finished recording when you were satisfied with the outcome of the shot. If that’s the case, jump straight to the part of the video in the editing software for all of your clips, cut out the unneeded parts and put your video together based on the shot-list you’ve made.
Since you probably have multiple takes of the same subject from different angles, you now have the opportunity to make bulk videos. These can be done in 15, 30 or 60 second formats which would be great for
social media. Every social media site is different so some cropping might be needed as a result, depending on the platform you will be posting to. In addition, making more than one video is most-likely doable as well because you’ve acquired so much footage on shooting day. The extra video you've generated can either act as bonus content or a video set aside for another day.
Share this blog!


TELL US EVERYTHING
(570) 620-6350
info@quantifimedia.com
25 S. Courtland St.
East Stroudsburg, PA 18301
FOLLOW US